Nakasendo Trail 3-Day Itinerary: Self-Guided Hiking
Follow in the footsteps of samurai and merchants on this ancient route between Kyoto and Edo (modern-day Tokyo). Plan your three-day Nakasendo Trail itinerary with this detailed guide covering historic post towns, scenic hikes, where to stay, and essential hiking tips.

Magome
This post may contain affiliate links.
If you choose to purchase I may receive a small commission at no additional cost to you. By using these links, you are supporting the ability for me to continue creating content for this site and its running costs.
The Nakasendo Trail isn’t just any hiking destination; it’s the kind of route that leaves you wanting more.
Dense hinoki and cypress forest, the smell of handwoven tatami, and fresh mountain cuisine are all part of the experience. Shaded cobblestone paths weave through verdant hills, thin dirt trails skirt around rice fields, and the occasional ohayo gozaimasu (good morning) from a local tending to their garden greets you on this trail through the Kiso Valley.
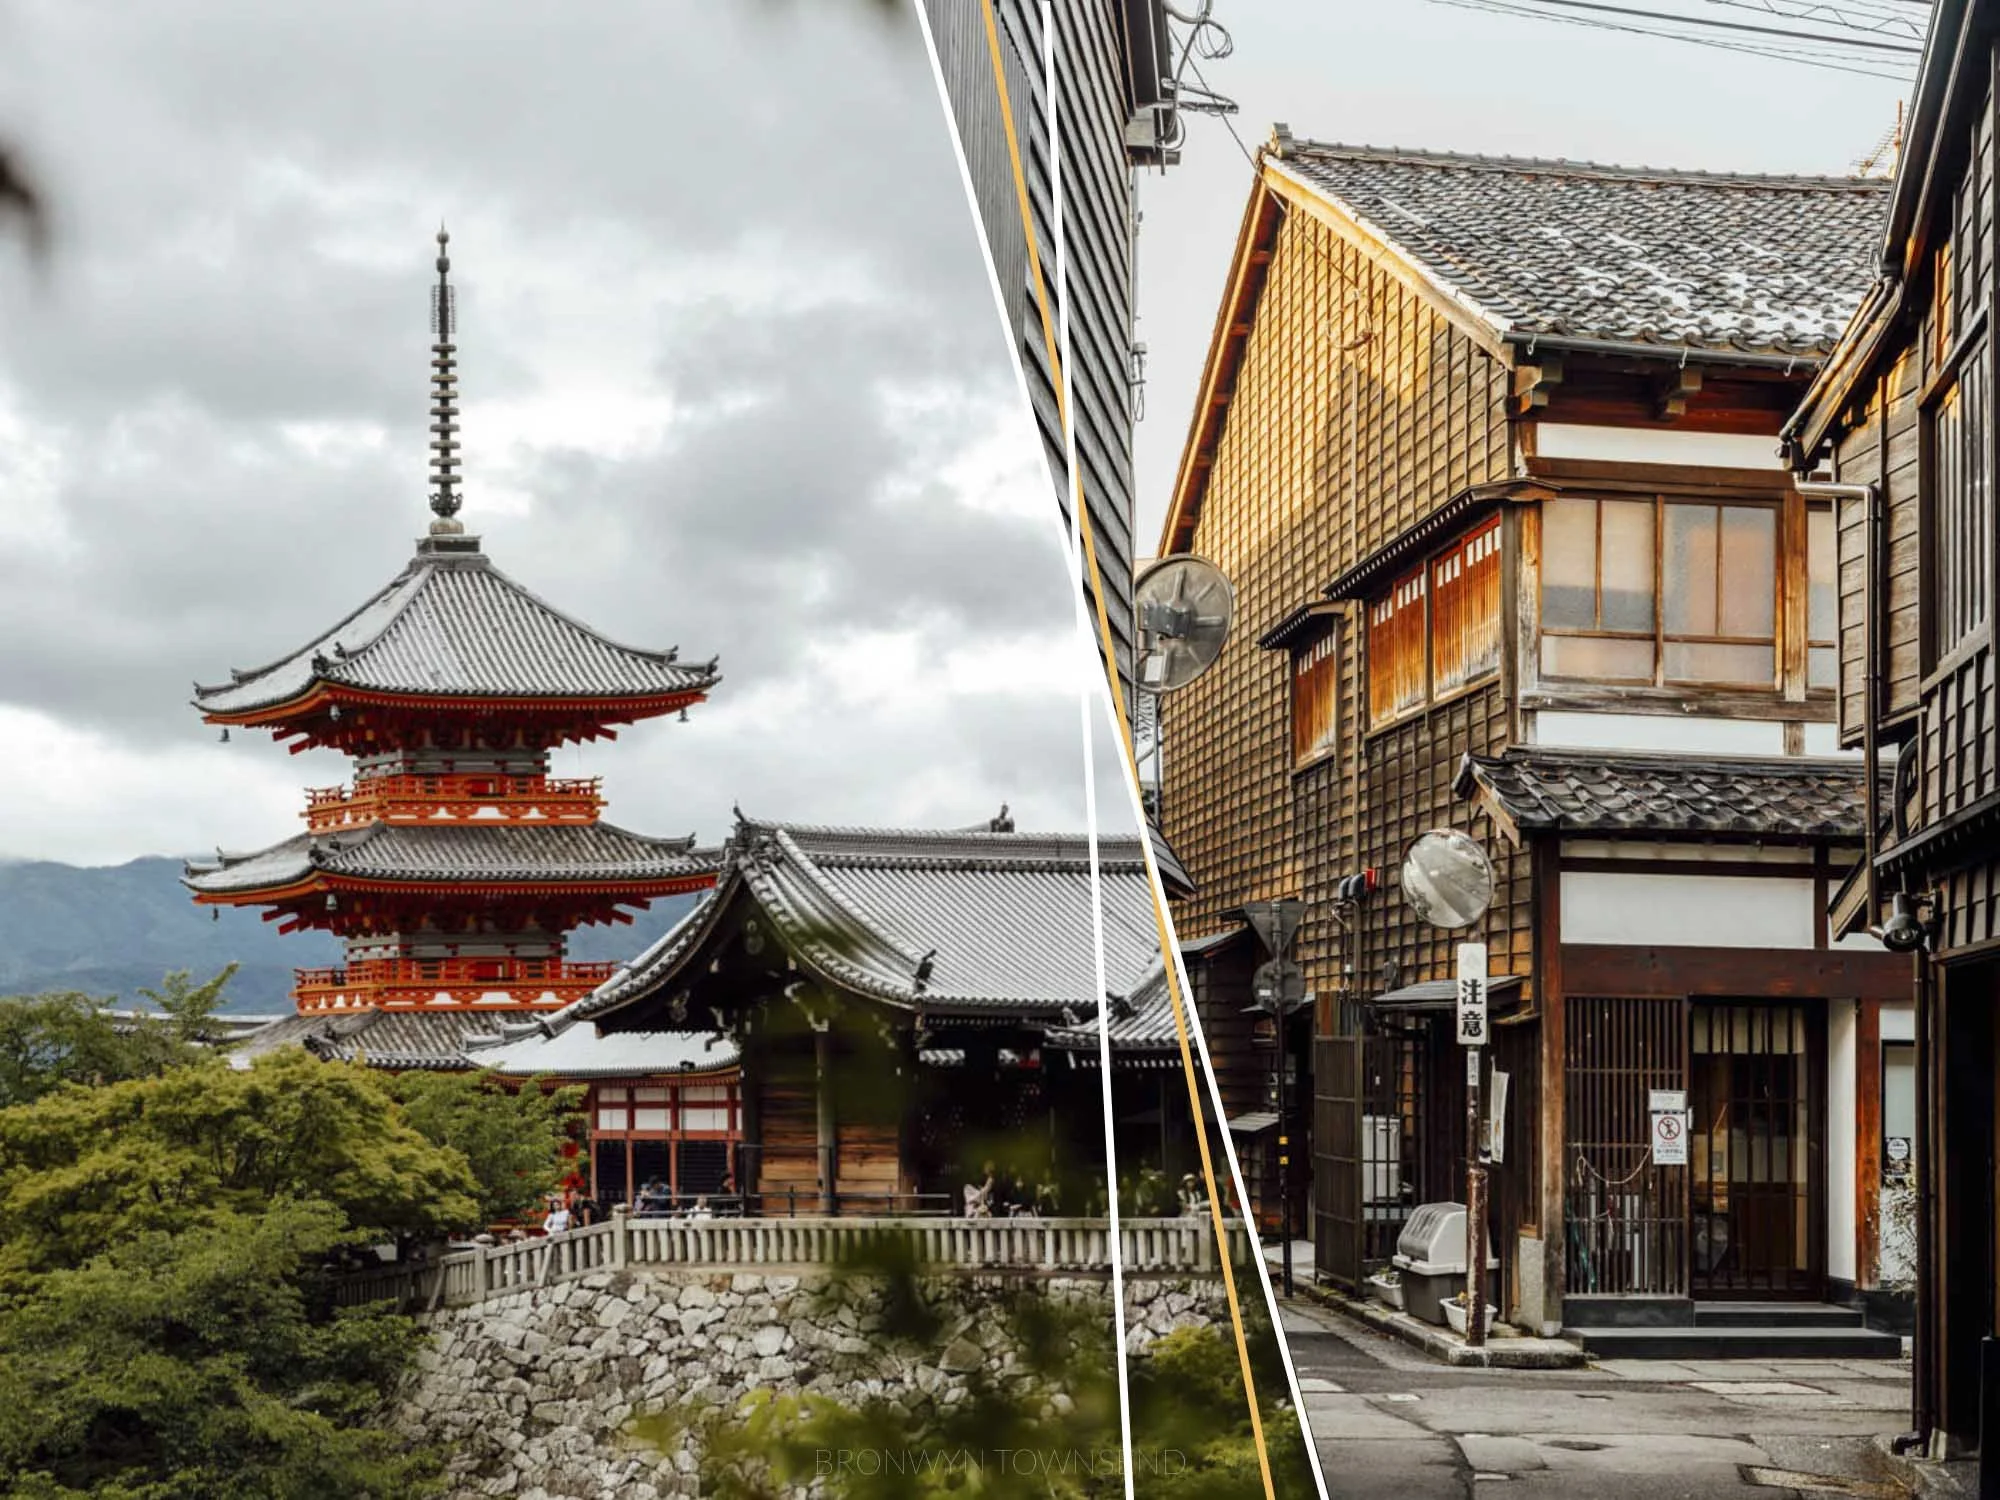
Tracing the path of one of the five ancient highways from the Edo Period, know as the Gokaidō had long been on my bucket list. After months of careful planning, I was ready to spend three days hiking the Nakasendo Way, exploring some of the best-preserved of the route’s 69 post towns. Completed on a longer 3-month sojourn across the country, escaping to the scenic landscapes of the Central Alps was the perfect interlude between a sub-tropical soiree in Okinawa and cultural immersion in Kanazawa.
Now, I’m sharing everything I learned about hiking the Nakasendo Trail with you. This three-day itinerary covers two of the most popular and scenic routes; Magome to Tsumago and the Torii Pass, as well as the challenging yet rewarding Yogawa-michi.
Magome

Tsumago

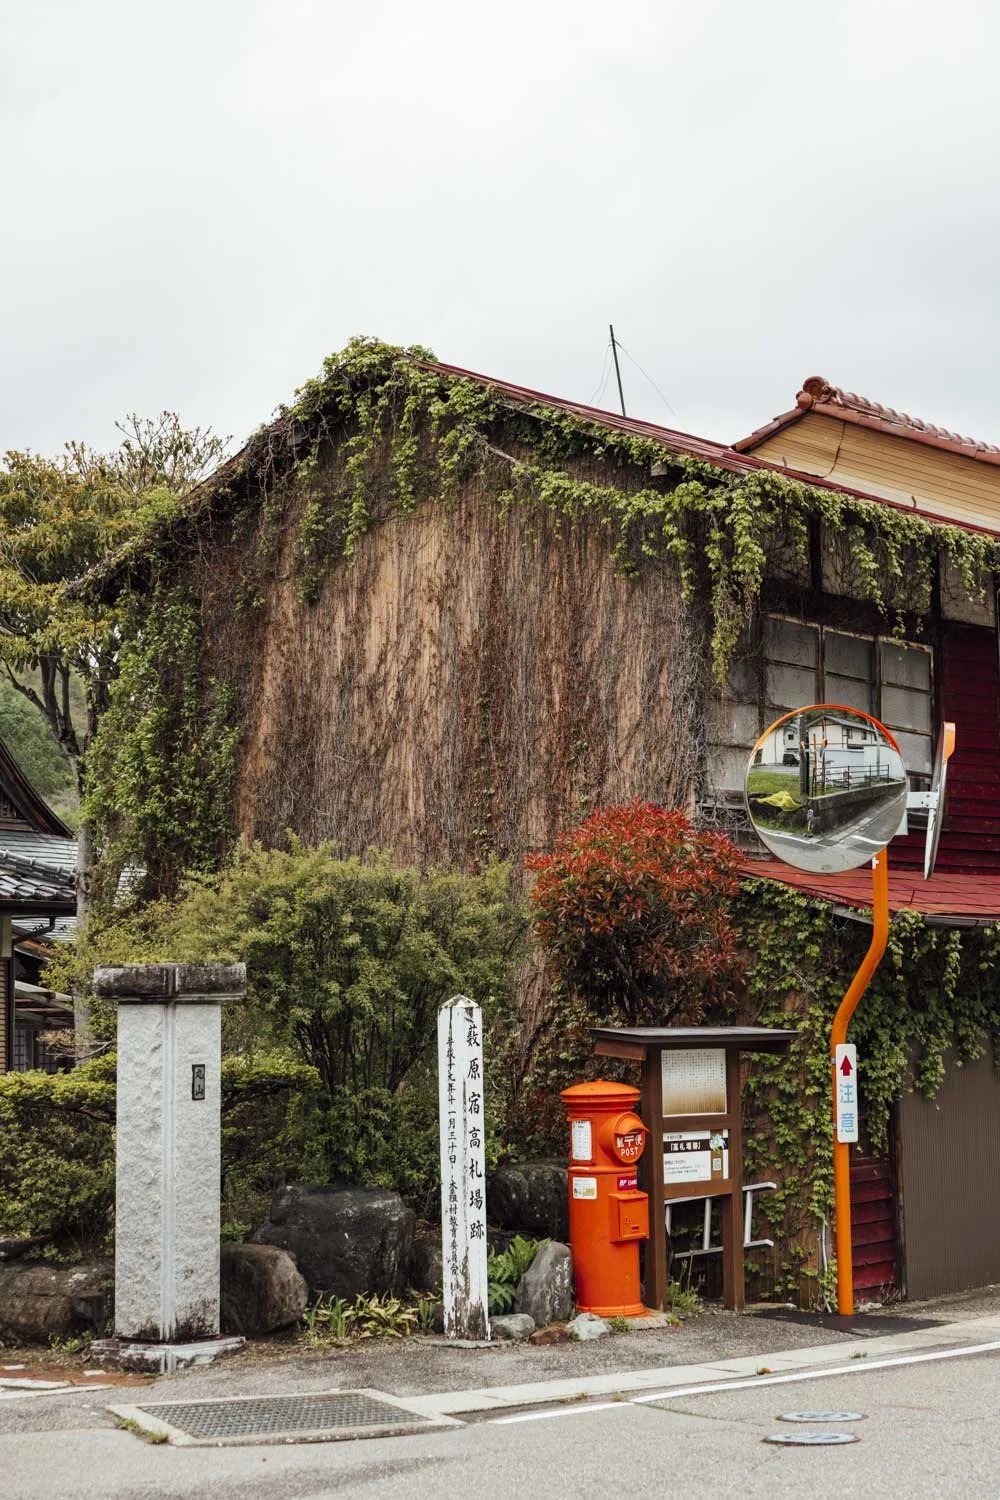
Narai-juku
What is the Nakasendo Trail?
The Nakasendō (中山道) Way is one of the five ancient highways from the Edo Period, and connects Kyoto to Modern-day Tokyo (formerly Edo). Winding approximately 534km (331 miles) through central Honshu, the Nakasendo Trail connects 69 post towns, passing through the mountains of the Kiso Valley. The full trail passes through Saitama, Gunma, Nagano, Gifu, and Shiga Prefectures, in addition to Tokyo and Kyoto.
The name Nakasendo translates to Central Mountain Route or Inner Mountain Road, and was a route once traversed by samurai, merchants, and feudal lords. The Tokugawa shogunate ruled Japan during the Edo period and established the five highways, including the Nakasendo, as a communication route and a means of transporting goods.
In the second half of the Edo Period, as pilgrimage travel was permitted, the route became more popular as travel for leisure was not permitted at the time. The 69 stations along the route were places for travellers to rest, with local inns providing accommodation and food for the night. Now, the route is home to some of the best-preserved post towns in Japan and offers popular hiking routes for travelers and outdoor enthusiasts.

Viewpoint just outside Magome
3-Day Nakasendo Trail Itinerary Overview
The Nakasendo Way spans some 530-odd kilometres across seven of Japan’s prefectures. With the full route taking a few weeks to complete, I chose one of the most scenic sections through Gifu and Nagano Prefectures, mostly passing through the Kiso Valley. To cover this Nakansedo Trail in three days, I set out my self-guided hiking trip as follows:
Day 0 | Travel to Magome and stay the night at Magome Chaya
Day 1 | Hike from Magome to Tsumago and stay at Dakichi Inn
Day 2 | Hike from Tsumago to Nojiri via Nagiso, train from Nojiri to Kiso-Fukushima and stay at Kisoji no Yado Iwaya
Day 3 | Train from Kiso-Fukushima to Yabuhara, hike the Torii Pass to Narai-Juku and stay at BYAKU NARAI

Private tatami room at Magome Chaya.

Traditional Japanese dinner at Magome Chaya.
Day 1 | Magome – Tsumago
Route | Magome to Tsumago
Distance | 8.5km
Time | 2.5 - 3 hours
Difficulty | Easy
Accommodation | Night before at Magome Chaya / Daikichi Inn in Tsumago
I opted to spend the night in Magome before hiking the first part of my 3-day Nakasendo itinerary so I could enjoy the town in the evening, without day trippers and in the soft golden light. It was a decision that paid off.
Making the journey from Tokyo, I took the Shinkansen to Nagoya, switched to the Shinano Line Limited Express service to Nakatsugawa, then jumped on the bus from Nakatsugawa Station to Magome. Whizzing by Yokohama, rural scenes with Mount Fuji peeking through the clouds, and finally a gentle winding climb into the mountains of Gifu.

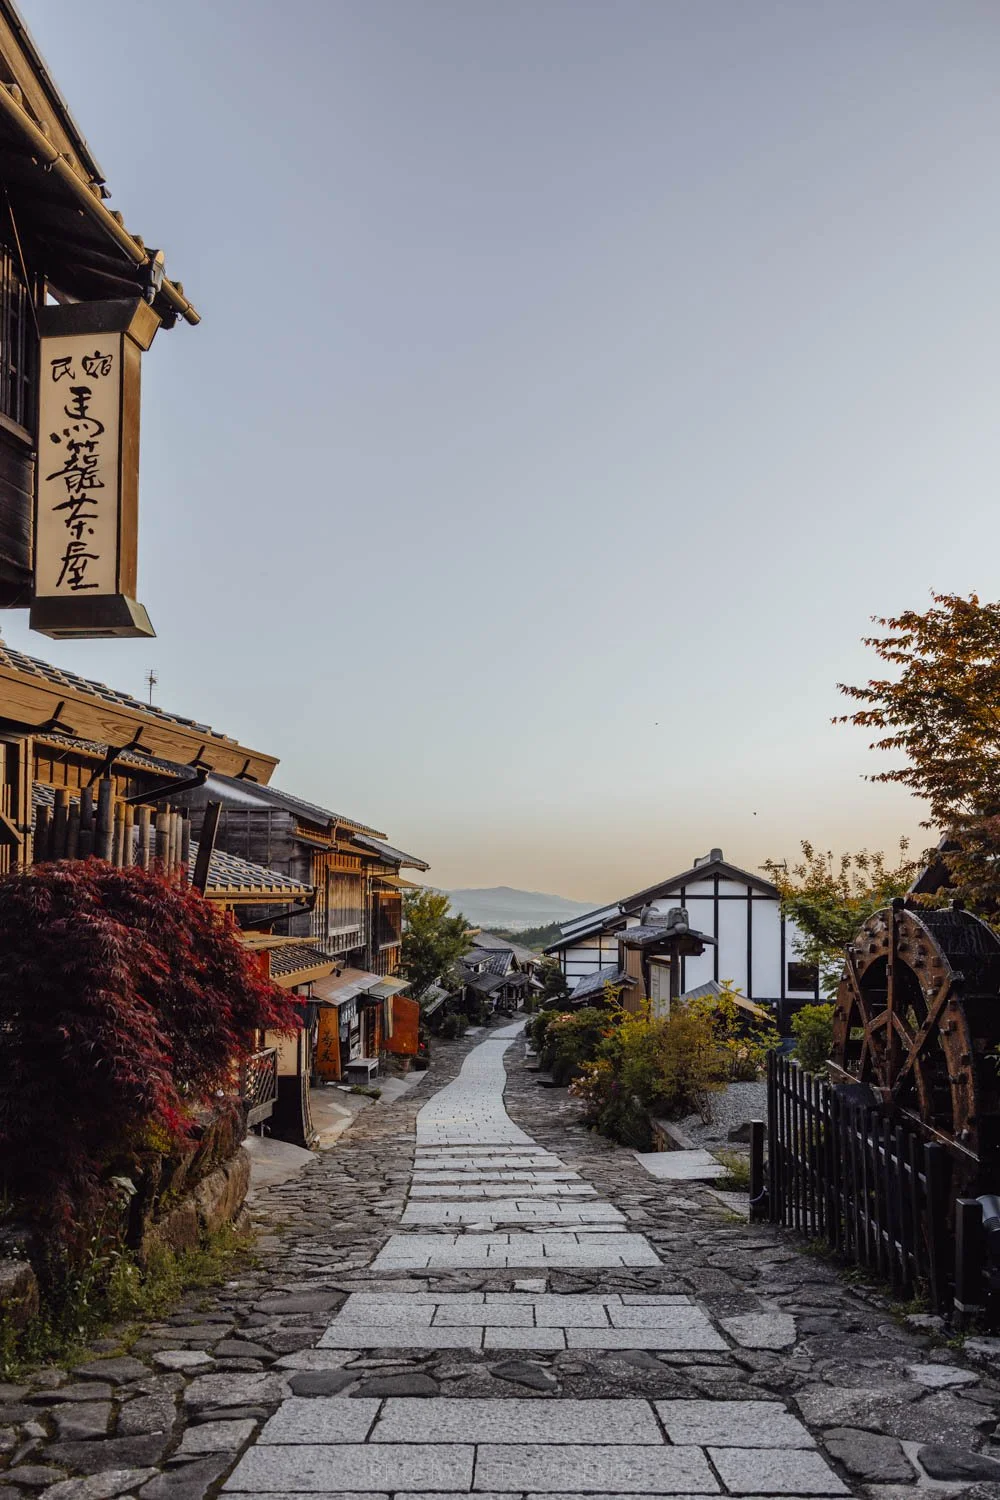
Magome
The Magome to Tsumago section of the Nakasendo Trail is the most popular and accessible section. Covering about 8.5km (5 miles) of gently undulating terrain through the heart of the Kiso Valley, this is a spectacularly scenic stretch. It’s also one of the most accessible sections for a day hike if that’s all your Japan itinerary can afford.
Transporting hikers to glimpse into Edo-period Japan, the trail begins at the top of the steep, stone-paved slope that runs through the centre of Magome. Passing by waterwheels, traditional wooden inns, and local stores, head to the Magome Tourist Information Centre to pick up your Nakasendo stamp card for ¥300.
They will stamp it for you in Magome and then head to the tourist office in Tsumago for your stamp when you complete the route — it’s also where you can collect your bag if you use the luggage forward between the two towns.

Completed stamp card after walking from Magome to Tsumago.
Follow the trail through town and into the forest. Led by the sound of trickling streams and the smell of cedar forests, you’ll wind through a mix of country lanes, farmland fringed with terraced fields, and dense cypress groves.
Around 45 minutes into the hike, you’ll reach Ichikokutochi Tateba Chaya, a restored teahouse run by volunteers from the Tsumago Preservation Society. Here, the day’s hikers can write their country on a blackboard outside the teahouse, sip on freshly brewed green tea, and share travel tales with fellow adventurers.

Ichikokutochi Tateba Chaya (teahouse).

Tea at Ichikokutochi Tateba Chaya.

Shaded path between Magome and Tsumago.
Continuing along the path that descends toward Tsumago, you’ll pass waterfalls such as Odaki and Medaki, roadside shrines, and old way markers engraved with kanji that have worn smooth over the centuries.
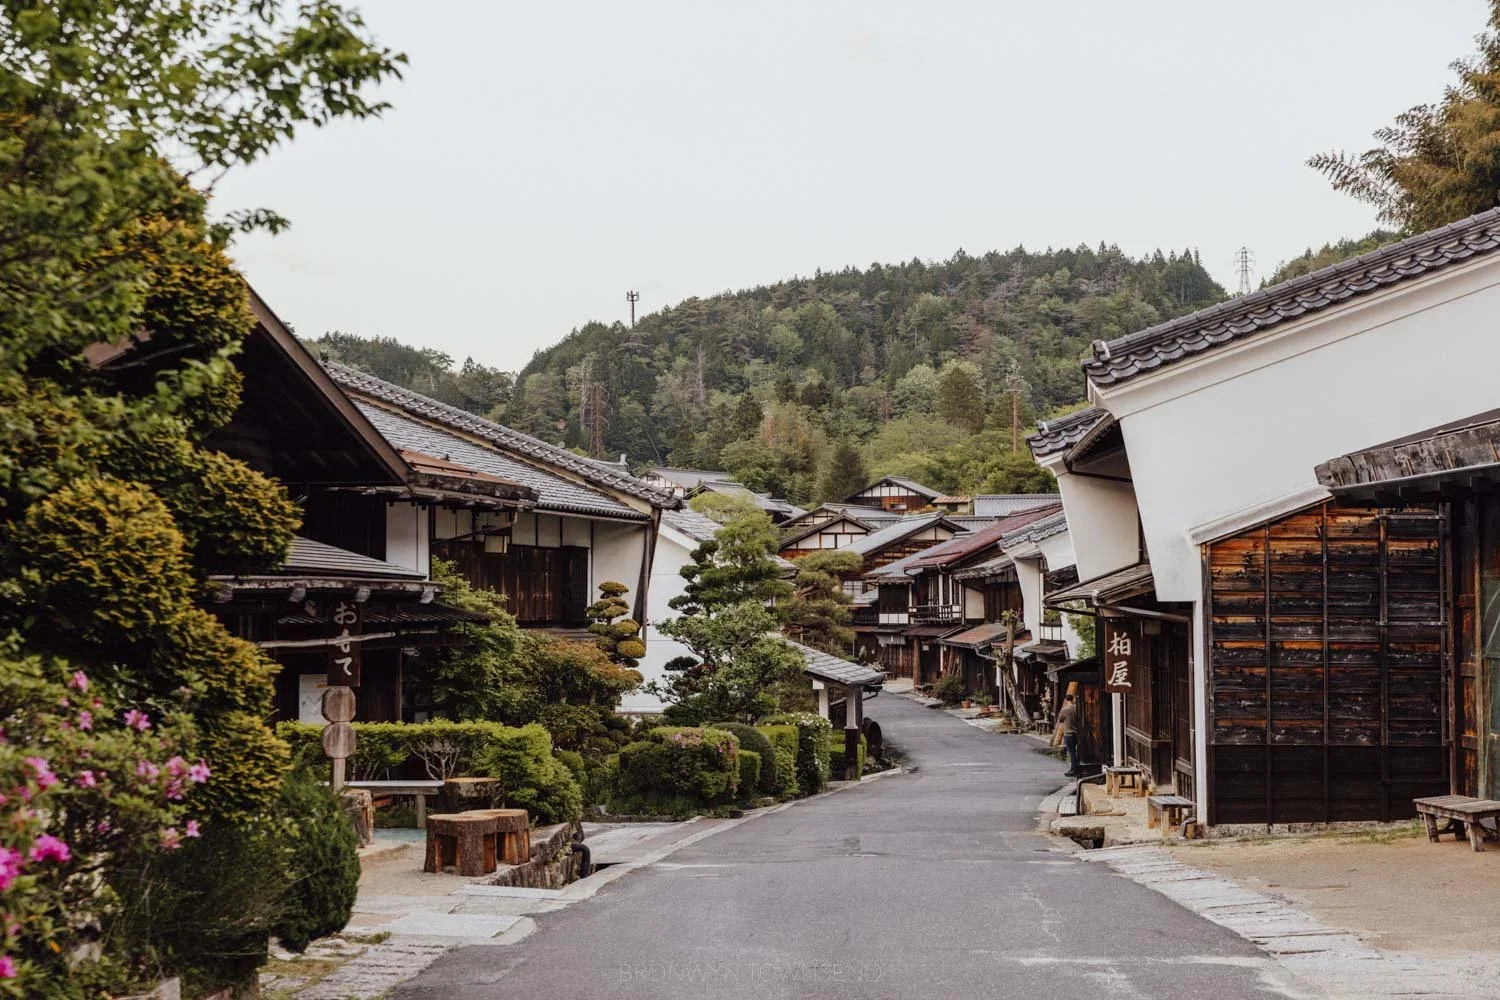
Arriving in Tsumago, I was in awe. There is no other post town I visited that felt more Edo-era than this quaint village. Devoid of overhead wires, neon signs, and with buildings lovingly restored using only wooden facades, Tsumago is the best-preserved of all the Nakasendo post towns.


And I have zero regrets about choosing it as my base for the night.
There’s a certain charm about Tsumago when the lanterns glow at dusk and the day trippers are gone. I stayed at Daikichi Inn (you’ll need to contact them directly to book), and both the traditional Japanese dinner and breakfast were incredible.
You should reach Tsumago by early afternoon, so grab some lunch at Konohanaya, which serves dishes like gohei-mochi (grilled, skewered rice cakes coated in a sticky miso sauce), grilled wagyu skewers, and oyaki (a grilled dumpling usually filled with mountain vegetables).

Dining room at Daikichi Inn, Tsumago.
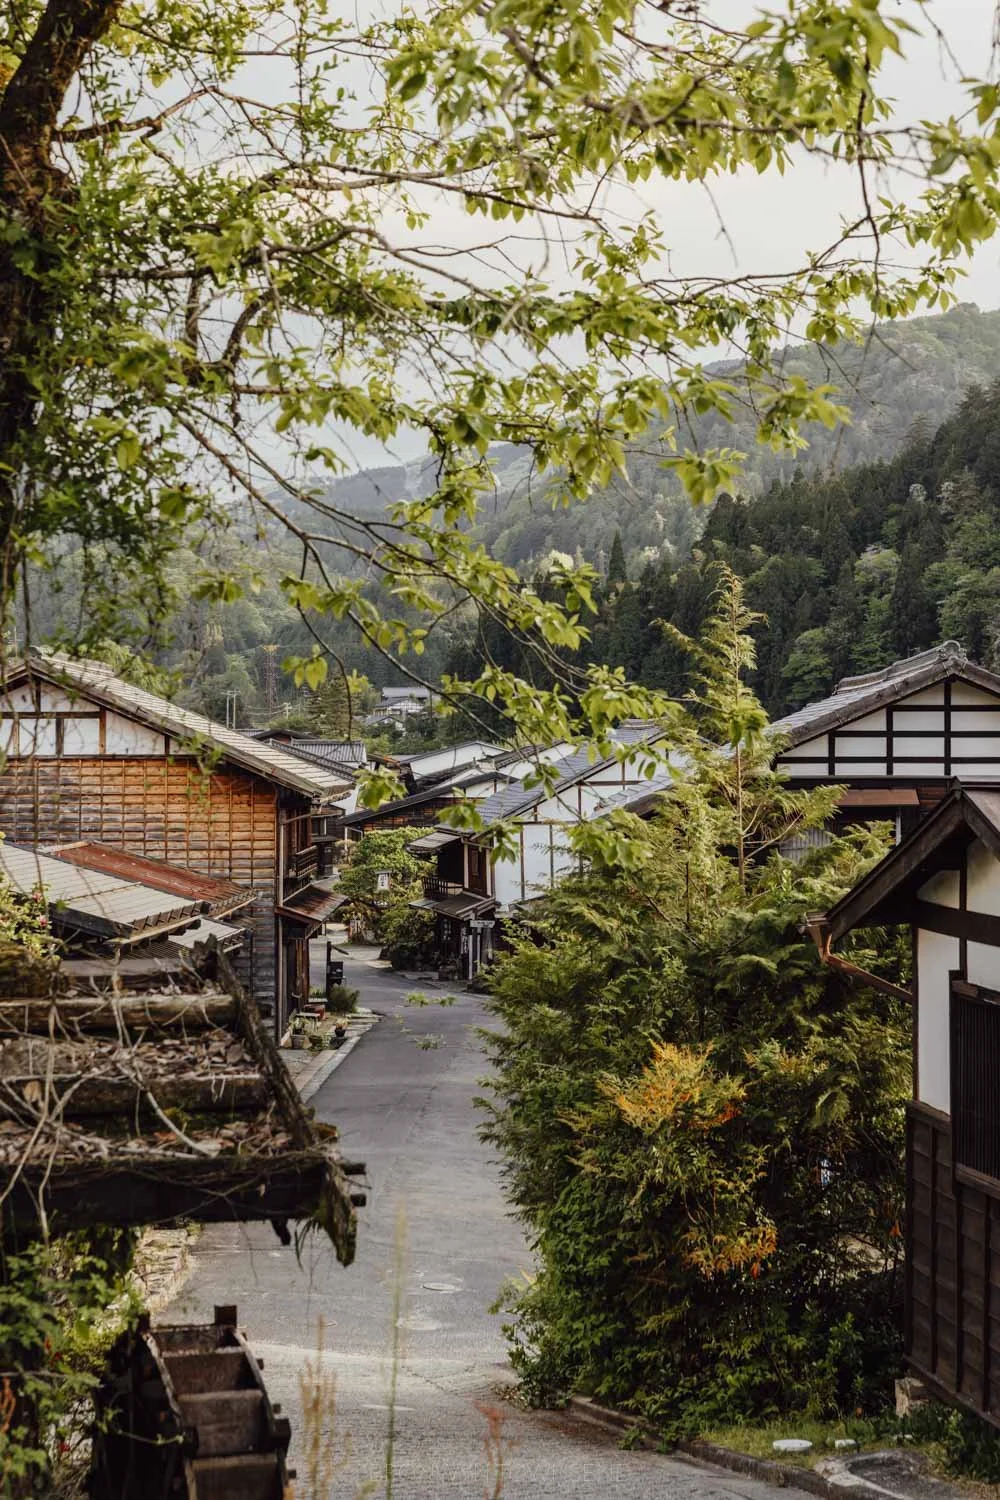
Tsumago in the late afternoon.

Tsumago.
If you can’t secure accommodation in Tsumago, you could continue on to Nagiso, which will also reduce the length of tomorrow’s hike, which is the longest day. You can either hike an additional 3.5km to Nagiso, or catch the bus from Tsumago to Nagiso station for ¥300. I recommend Hostel Yui-an, which offers a pick-up service from the station, and it puts you right on the trail to start hiking for day two.
Day 2 | Tsumago – Kiso-Fukushima via Nojiri
Route | Tsumago to Nojiri (hike) + train to Kiso-Fukushima
Distance | 18km
Time | 6-7 hours
Difficulty | Moderate
Accommodation | Kisoji no Yado Iwaya
After an exceptional traditional Japanese breakfast at Daikichi Inn, I headed to Good Day Coffee before a long day of hiking ahead. Wilder, quieter, and more remote than day one, the reward is often going an hour or two without crossing paths with other hikers. You’ll feel like you have the trail all to yourself.

Quiet corner in Tsumago.

Traditional Edo-era buildings in Tsumago.
If you haven’t already got one, be sure to pick up a bear bell before leaving Tsumago. There are fewer people on the trails, and fewer large bells to ring. It takes about an hour to reach Nagiso, passing by several small shrines and temples, Jizō statues watching over travelers, and through lush landscapes.
When you reach Nagiso, take in the views of and from Momosuke Bridge, and stock up on supplies at the 7-Eleven in town. There is nowhere once you leave Nagiso to buy water or snacks, so ensure you have enough for the day. This is also your opportunity to bail and catch the train from Nagiso to Kiso-Fukushima if you don’t think the next 15km that await you are manageable.

Kabuto Kannon near Nagiso.

Signage between Nagiso and Nojiri.
Starting the ascent out of the other side of Nagiso, the route takes you along Yogawa Road. The original Nakasendo route for this stretch is now forming sections of Route 19, a major road, so the path deviates via Yogawa Road, which was an alternative path when the Kiso River flooded and the usual Nakasendo was unpassable.
Climbing into the hills, thick with hinoki cypress and sugi cedar, you’ll pass through several tiny hamlets and abandoned farmsteads, which serve as a silent reminder of the once busy route this used to be. Hiking in early May, lingering cherry and peach blossoms punctuated rice fields, adding a gentle pop of pink and white against the green.

Views between Nagiso and Nojiri.

Route along the Yogawa Road.
Descending toward Nojiri, the forest gradually thins and views open up over the Kiso Valley. Emerging from the forest, the landscape becomes more urban. Nojiri is a very quiet town, but you’ll catch the train from here to Kiso-Fukushima. With the trains only coming every few hours, I grabbed a much-deserved coffee and cake at Coffee Katana while I waited.
Kiso-Fukushima makes for a great base tonight, as there are several hotels and ryokans in the area and a good selection of izakayas and restaurants for dinner. There’s also a warm footbath in town where you can soak your tired feet after a long day of hiking.
I loved my stay at Kisoji no Yado Iwaya, and nothing felt better than a soak in the rooftop onsens to soothe aching feet and shoulders.

The family room at Kisoji no Yado Iwaya, my ryokan in Kiso-Fukushima.
Public footbath in Kiso-Fukushima.

Milk bread from Kanemaru Bakery.
Day 3 | Kiso-Fukushima via Yabuhara – Narai-juku through the Torii Pass
Route | Kiso-Fukushima to Yabuhara (train) + hike to Narai-Juku
Distance | 7km
Time | 2.5 - 3 hours
Difficulty | Easy to moderate
Accommodation | BYAKU Narai (luxury) / Matsumuraya Koma (mid-range)
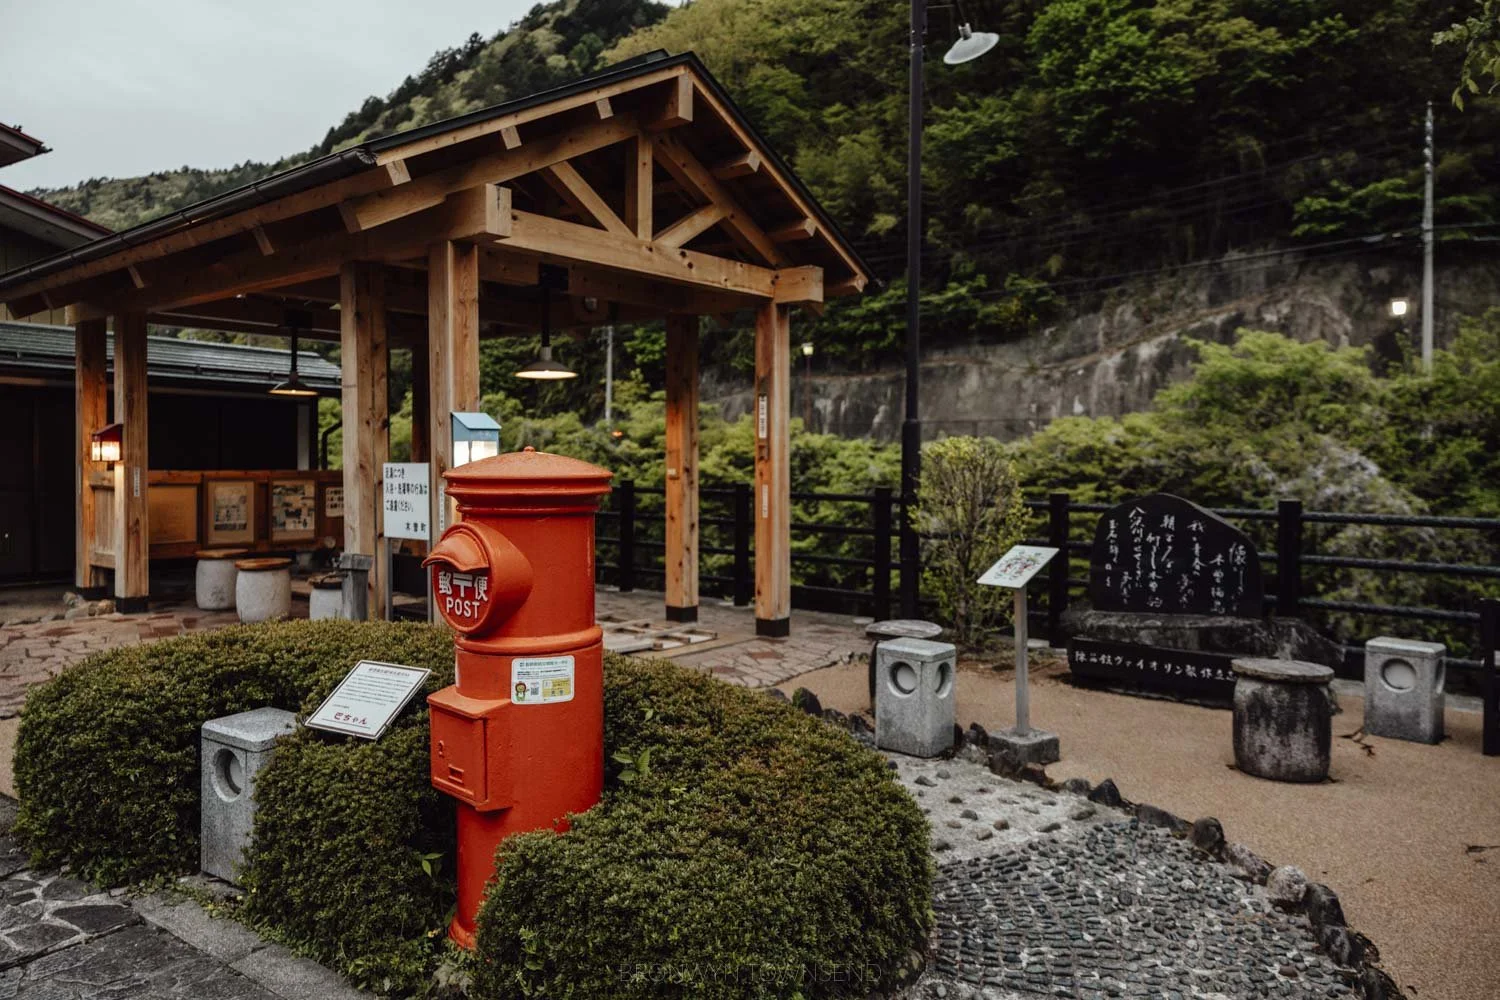
The final day on this Nakasendo Way 3-day itinerary starts with a wander around the preserved historic area of Kiso-Fukushima before you jump on the train to Yabuhara. Be sure to check the timetables, as trains are infrequent. On the way to the train station, pick up a delicious milk break at Kanemaru Bakery, a Showa-era style bakery that evokes nostalgia with its retroesque interior.

Preserved area in Kiso-Fukushima.

Statues at Daitsuji Temple.
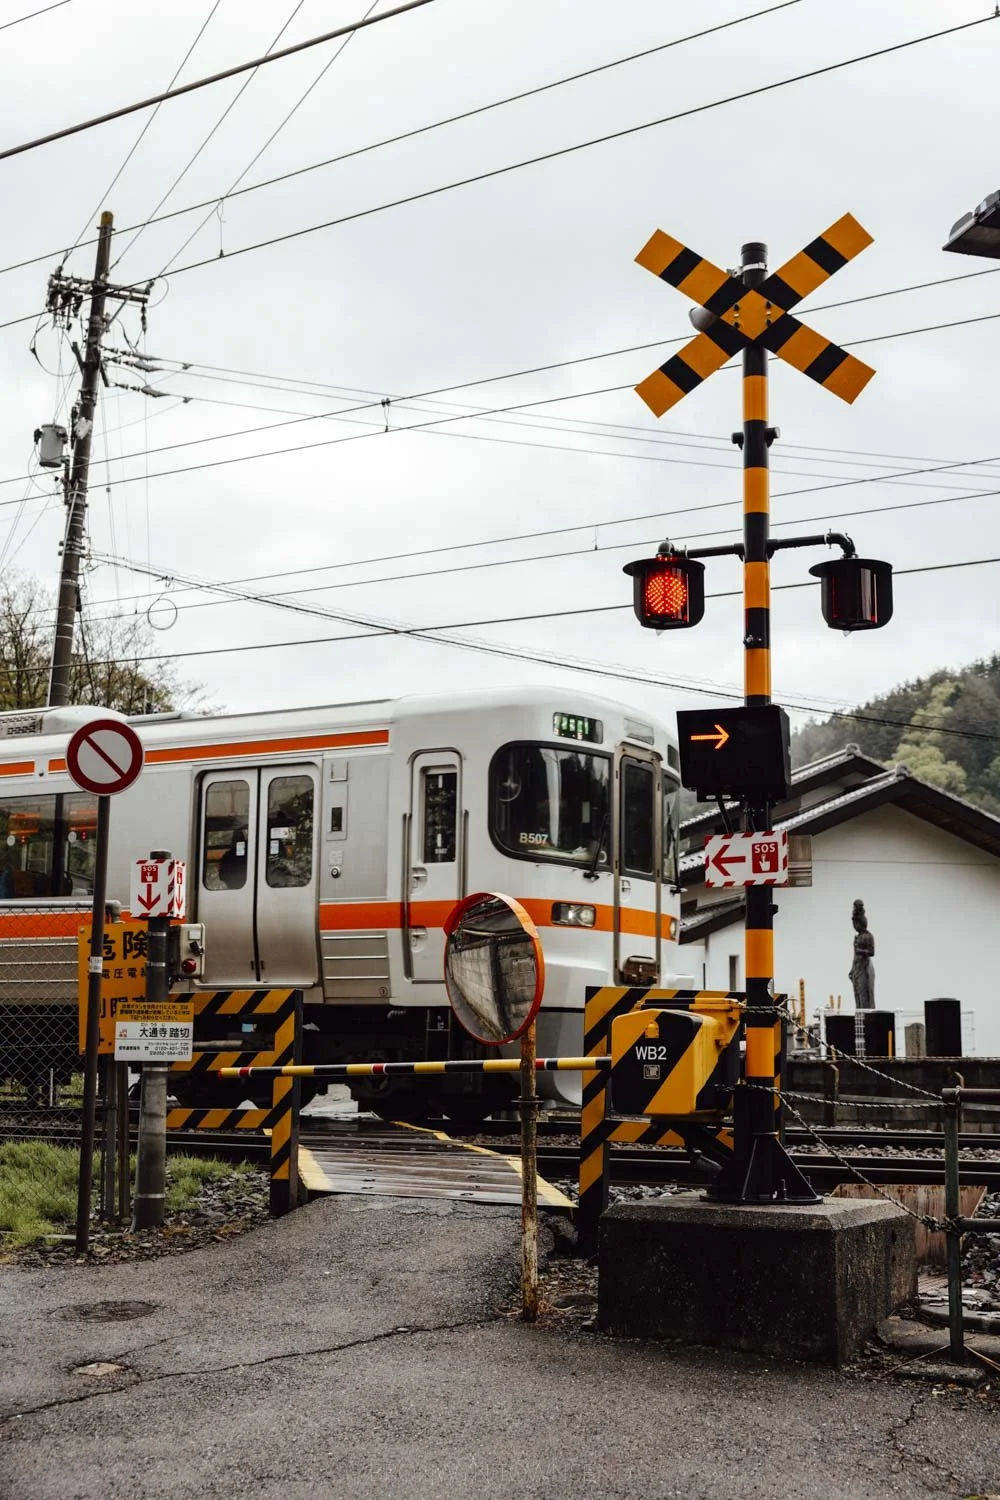
Train passing through Kiso-Fukushima.
From Kiso-Fukushima to Yabuhara, the train takes around 30 minutes. Yabuhara is a sleepy, yet quaint town that reminded me more of the Showa era than the Edo era. There is also a good sake brewery if you want to drop in. From the station, you’ll walk through town before beginning to ascend the Torii Pass. This is the second-most popular stretch of the Nakasendo Way, and is a similar distance to day one.
Following a narrow dirt path through cedar and larch forest, wildflowers line the path in spring, and come autumn, the leaves turn shades of crimson and gold. This trail is steeper than day one, but I’d still consider it to be on the easier side of moderate. The path is shaded and quiet, though I did cross the path of a few other hikers heading in the opposite direction.
Scenes in Yabuhara.

Beginning of the Torii Pass.
As you zigzag along the path, you’ll reach Maruyama Park, an area with a few stone monuments dedicated to poets, including the Haiku poet Basho. Continue on, and as you reach the top of the ascent, which sits at 1,197 meters, the views will begin to open.
Next comes Ontake Shrine. This shrine and its torii gate are the namesake for this section of the Nakasendo Trail. From here, travelers got their first glimpse of the sacred Mount Ontake. At this point, you begin the descent into Narai-juku and the trail is considerably easier.

Nakasendo Way signage.

View from the Torii Pass.
Narai, once called the “Narai of a Thousand Houses”, is a 1km stretch lined with dark wooden inns, restaurants, and souvenir stores selling local wares. It is one of the best-known preserved post towns and a popular day trip from Matsumoto.
As Narai marks the midway point on the trail, it was the wealthiest post town, which is evidenced by its size. Spend a few hours visiting the local souvenir stores selling lacquerware and orokugushi (traditional wooden combs), eat lunch at one of the local cafes, and enjoy a sake tasting at Suginomori Brewery.
Narai-juku.

Sake tasting at Suginomori Brewery.

Entering Narai-juku from Torii Pass.
For the ultimate reward at the end of this 3-day Nakasendo hike, I spent the night at BYAKU Narai. My husband and I didn’t take a honeymoon when we got married last year, so we treated a few nights of our 3-month Japan trip as a splurge, and this was one of them. You can read my complete review of BYAKU Narai for an in-depth look at this stunning boutique hotel.
Occupying several properties along the main street in Narai-juku, rooms are uniquely designed feature private outdoor baths. The multi-course dinner at Kura Restaurant was Michelin-star worthy, and we still talk about the magic the chef worked with the local flavours.
If you can’t secure a reservation at one of the minshuku or ryokans in Narai, then you can take the Shinano Line train to Matsumoto, which has plenty of hotel options available.

My room at BYAKU Narai.
Where to stay on the Nakasendo Way
Choosing to hike several parts of the Nakasendo Trail allows you to experience rural Japanese hospitality, with a range of ryokans and minshukus to choose from. You do need to plan carefully and book your accommodation several months in advance, as there are limited options.
If you follow this Nakasendo self-guided itinerary, I recommend the following accommodation options.
Magome Chaya | A minshuku (traditional guesthouse) offering both private and dorm-style rooms for a great value price in the heart of Magome. A traditional dinner and breakfast are included. Private rooms are tatami mat floors with futons, typical of Japanese Inns, and bathrooms are shared, which is common for properties in this region.
Daikichi Inn | A boutique minshuku with just four rooms. One of the only properties available in Tsumago, the dinner and breakfast are incredible, and they can offer vegetarian options if you let them know in advance. You need to reach out to the property directly to enquire about booking.
Kisoji no Yado Iwaya | A traditional ryokan in Kiso-Fukushima offering rooms for solo travellers through to groups or families. With a rooftop onsen and the option to include meals at the on-site restaurant, it’s perfect after a long day of hiking.
BYAKU Narai | This luxury property in the centre of Narai-juku was once a former storehouse common in the area. Everything about this stay is exceptional, including the dinner and breakfast at Kura Restaurant. Most rooms offer a private, outdoor rotenburo (outdoor bath), high-end amenities, and there is a lovely bar on site too.

Accommodation at Magome Chaya.

Accommodation at BYAKU Narai.
Is three days enough to hike the Nakasendo Trail?
If your itinerary allows it, or you want to specifically dedicate part of your Japan trip to hiking along the Nakasendo Way, then three days is perfect. If you follow the same itinerary I did, then it allows you enough time to visit several of the most beautiful towns along the route, hike some of the most scenic sections of the trail, and you could extend your visit to nearby areas like Nagoya, Matsumoto, or Nagano.
When is the best time to walk the Nakasendo Way?
Spring (April - May) and autumn (October - November) are the best times to walk the Nakasendo Trail. However, the route can be hiked year-round. I hiked this route in early May and the weather was almost perfect (except a little early morning rain one day). Temperatures are comfortable for hiking, rainfall is lower in these periods, and there is no risk of snow at this time of the year.
You can hike the trail outside of these periods, but in winter you will need to prepare for icy conditions, and summer can be very wet and humid, so ensure to prepare for muddy conditions.

Spring in Magome.
Is the Nakasendo Way route easy to follow?
I can confirm that the sections of the trail I hiked this year are well signposted, with regular signs along the trail. The tourist information centres in the towns also have a range of maps and guides available that you can take with you. I also recommend downloading the All Trails app with the route so you can check if you’re ever in doubt.
Nakasendo Trail Packing List
My best advice for packing your bag for the Nakasendo Trail is to keep it as light as possible. If you’re using a luggage transfer service as I did, then you can just keep your daily essentials in a small backpack and have a duffle or larger backpack with overnight requirements sent between your accommodations.
1 x hiking pants
4 x shirts
1 x fleece
1 x raincoat/Gore-Tex or waterproof jacket
4 x socks and underwear
1 x hiking shoes/boots
Pyjamas
Hat
Rain cover for your backpack
Toiletries (toothbrush, toothpaste, deodorant, moisturiser, face wash - your accommodation should supply body wash and shampoo)
Sunscreen
Camera, batteries, and memory cards
Insulated refillable water bottle
Snacks

Walking the Yogawa-Michi on day two.

Vending machines in Nojiri.
Nakasendo Trail Hiking Tips
Wear comfortable, weather-appropriate clothing and consider layers, as changing elevations in the mountains can mean the climate can change along the route.
Use a bear bell and attach it to your bag to ward off any possible bears in the area. There are also larger bells along the trail that you can ring.
Book your accommodation early. It can book out months in advance, so prepare your itinerary and book your minshukus as soon as possible.
Ensure you have all the right equipment you’ll need, from the right footwear to a small first aid kit.
Share the details of your hike with friends and family to ensure they can check in with you.

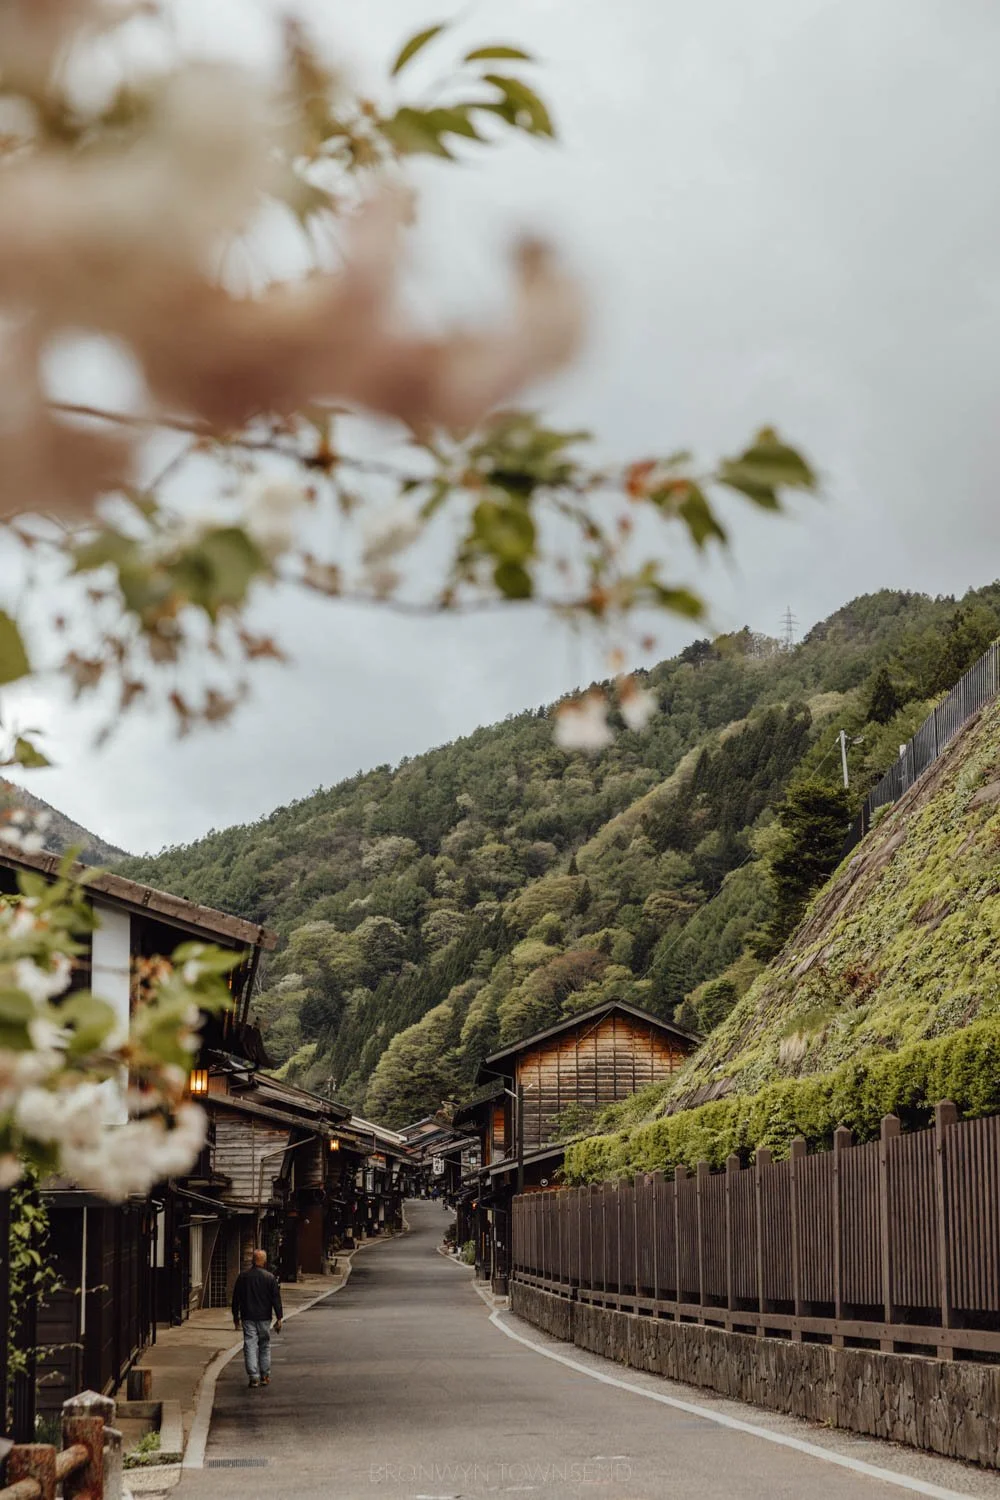
Main street running through Tsumago.
Is there luggage transfer for the Nakasendo Trail?
Yes, we used a mixture of the local tourist office luggage transfer service and the Nakasendo Luggage Transfer Service run by Oguri-san.
There is a luggage transfer service between Magome and Tsumago tourist offices for ¥1,000 per bag that runs from mid-March until late-November. All you need to do is drop your bag off before 11am and pick it up at the other end before 5pm. This works whether you walk in either direction.
NLTS - Nakasendo Luggage Transfer Service
I used this luggage transfer service between Tsumago and Kiso-Fukushima, and then onto Narai-Juku. The cost is much higher, but the convenience was worth it for me and the service was excellent.
Oguri-san handled my quote and reservation via email, payment was via an online portal, and the rest was easy. I was given instructions on what time to leave my bag at the front of my minshuku each day, and it was delivered ready for me when I got to the next stop after a day of hiking.
Using NLTS meant I only needed to carry my daily essentials like snacks, water, sunscreen, and my camera gear. My change of clothes, pyjamas, and toiletries were sent ahead. I 100% recommend this service. If you’re not carrying a load of heavy camera equipment, you could easily carry minimal toiletries and pjs/change of clothes.
What did I do with my main suitcase? I used Yamato to send it from my hotel in Tokyo to my hotel in Narai-Juku.

Dusk in Narai-juku, one of the beautiful advantages of staying in town for the night.
Can you hike the Nakasendo Way without a guide?
Yes, this itinerary is based on my own self-guided 3-day hiking experience in the Kiso Valley. I’ve taken all the research I did and put everything I learned before and during the hike into this guide so you can plan your own self-guided Nakasendo Way hike. If you’d prefer to hike with a guide, then Walk Japan offers a 5-day guided Nakasendo tour.
Is it safe to hike the Nakasendo Trail?
Yes, it is safe to hike the Nakasendo Way, however there are a few considerations.
Japan has high safety ratings overall, however usual awareness of your surroundings is recommended.
Bears are known to be in the area where hikers pass through on the Nakasendo Trail. While sightings are rare, you should wear a bear bell, ring the bells placed along the path, and be aware of what to do if you cross paths with a bear (which is very unlikely).
Wear the right gear, appropriate clothing and footwear for the terrain and weather is essential.
Make sure you have accommodation pre-booked, and check timetables for public transport as services are infrequent.
Are there toilets on the Nakasendo Trail?
Yes, I saw several toilets not only in the towns, but also along the trail. They are usually a single, private room toilet that even flushes. I was definitely expecting a long drop after travelling through rural areas in Australia, so it was a pleasant surprise — but then again, Japan is the master of toilets, IYKYK.

Example of toilet hut on the Nakasendo Trail.
Is the Nakasendo Way worth visiting?
It’s a resounding yes from me. Hiking part of the Nakasendo Way was the highlight of my most recent trip to Japan. And with four trips and nearly six months spent travelling the country in total, that’s a pretty big recommendation. It’s worth visiting the Nakasendo Way if you’re looking to explore beyond the Golden Route, want to see preserved historic towns, and experience the beauty of rural Japan.
The Nakasendo is pleasantly easy to access with some planning and is a great addition to a Central Alps itinerary. I loved it so much in spring that I’m desperate to return and hike more of the trail in autumn.
What next?
If you want to explore more of Japan beyond the Golden Route, check out these guides.
Check out my 10-day Japan Itinerary beyond the Golden Route
A complete guide to seeing the snow monkeys in Nagano
Hike through the forests to Togakushi Shrine in winter
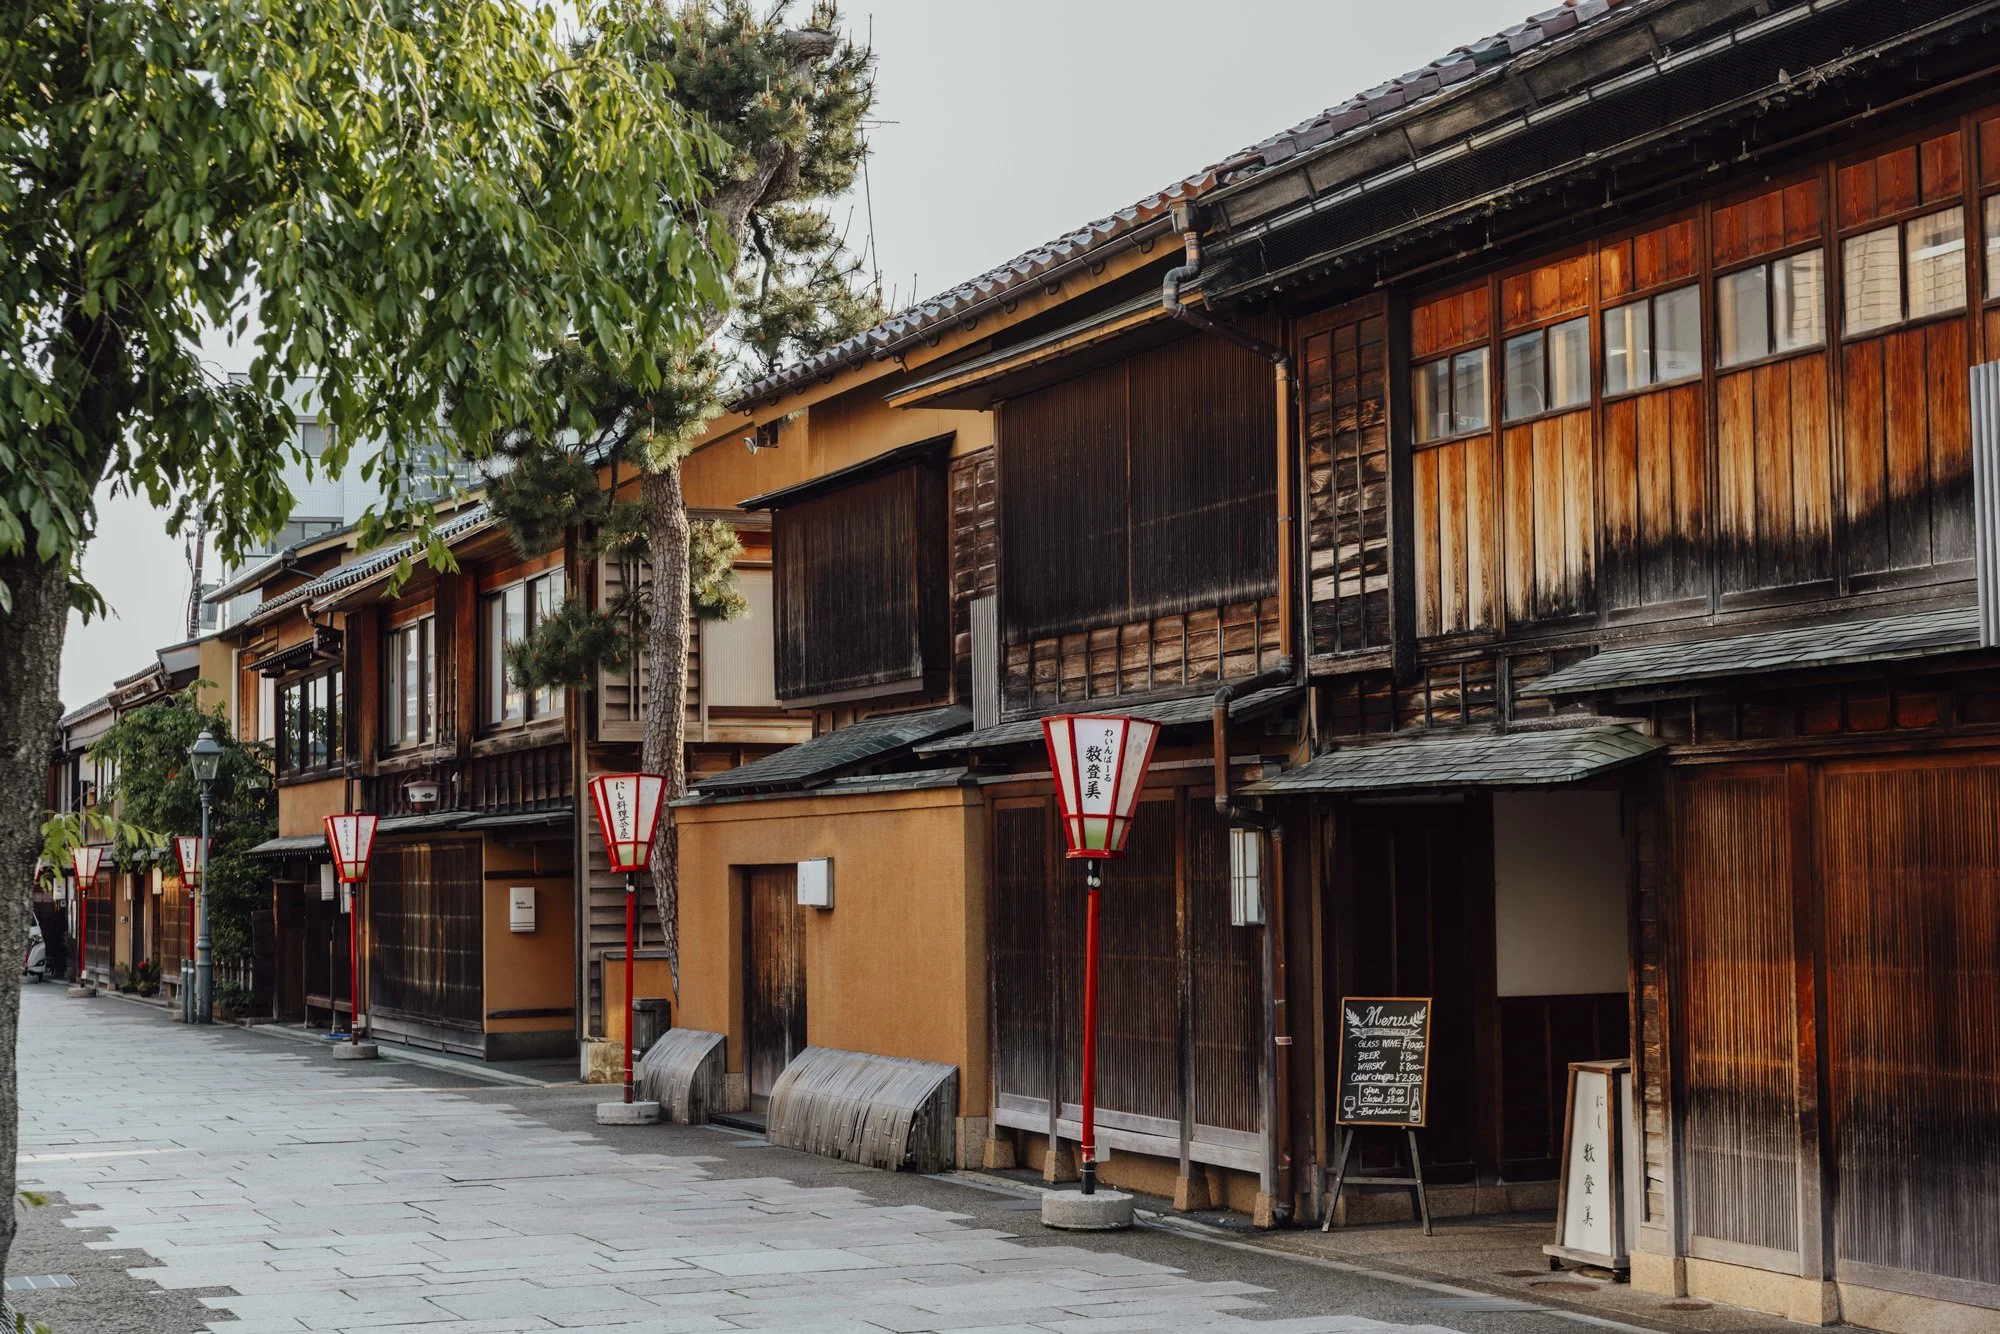
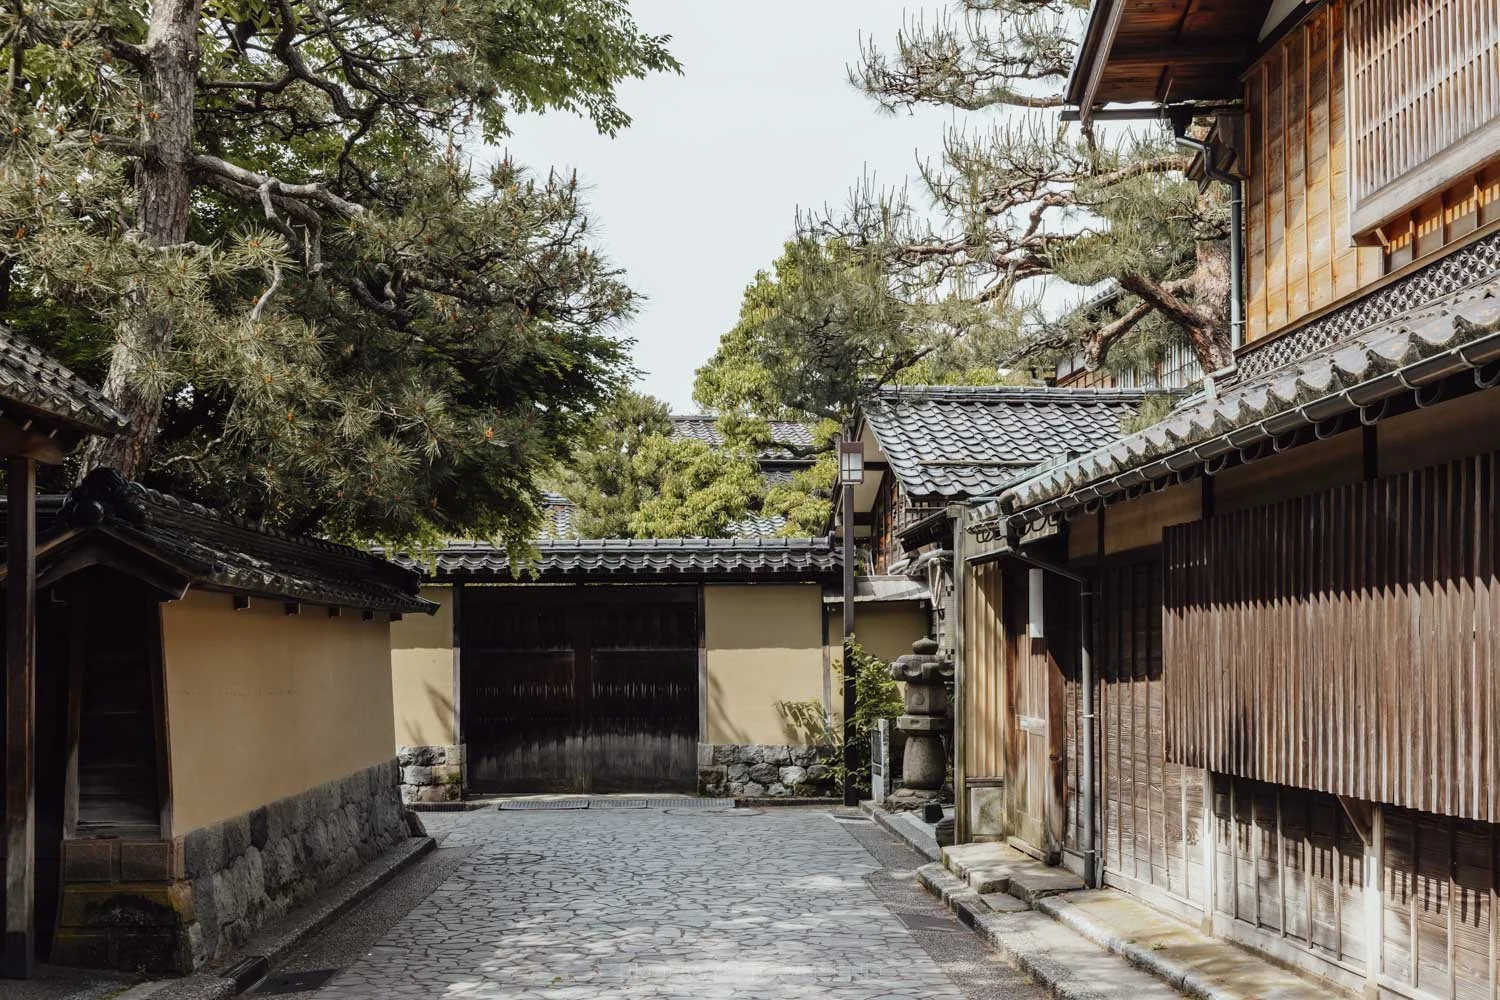
Discover the best things to do in Kanazawa or follow this Kanazawa itinerary
Spend a day in Miyajima and enjoy the best things to do on the island